A print border can save a framing headache
A white border may be part of the print rather than spare paper. Check it before trimming or choosing a mount.
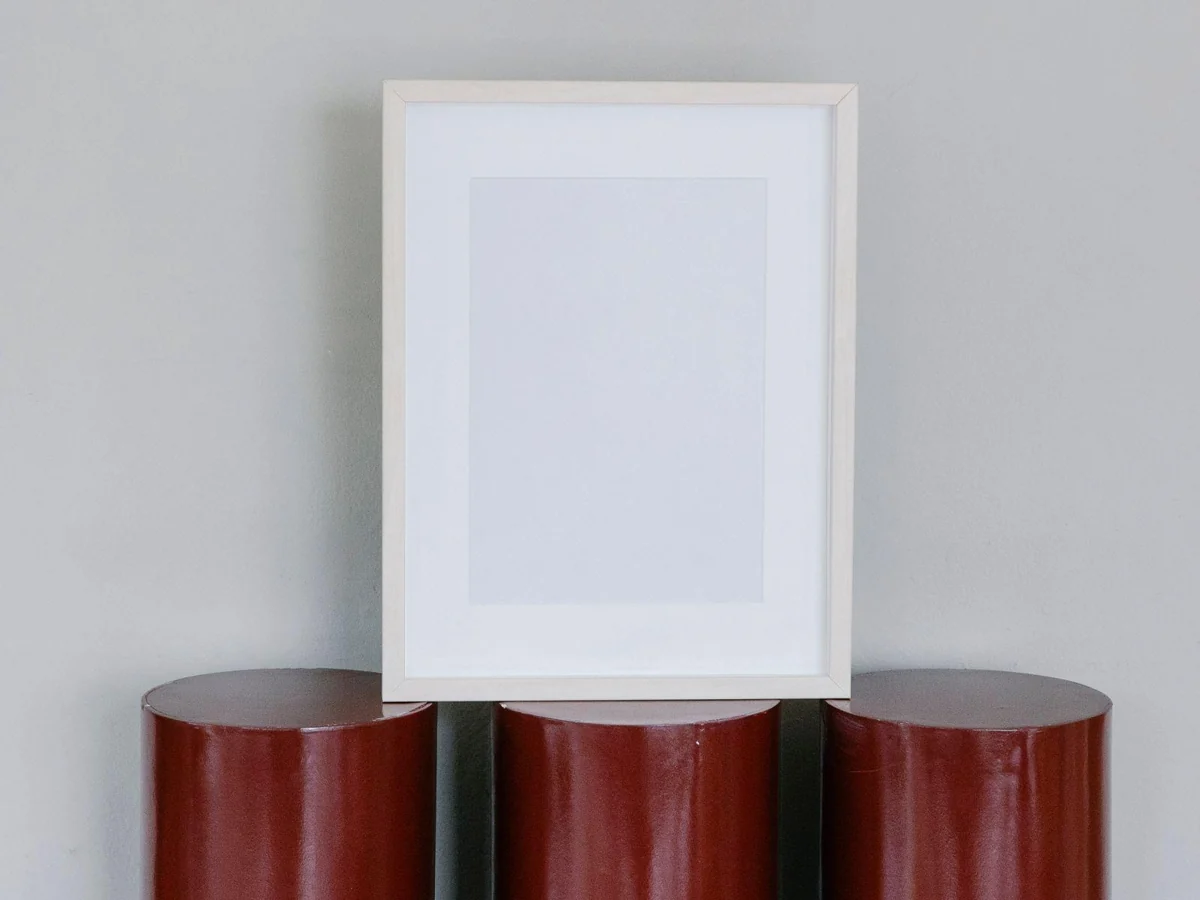
A margin can have a purpose
The blank area around an image can give it breathing room, provide space for a signature or help with handling and framing. Sometimes it is an intentional part of the design; sometimes the printer offers bordered and borderless versions of the same artwork. Read the description before assuming the white area is packaging that should be cut away. Trimming is usually irreversible and can change how the piece fits a standard frame.
Ask whether the listed dimensions refer to the whole sheet or only the printed image. A print described as thirty by forty centimetres may have a smaller image inside that sheet. Another seller may describe the image at that size and add a border outside it. Neither convention is inherently confusing when stated clearly, but mixing them up can leave a frame or mount that does not fit.
Work out what should remain visible
Lay the print on a clean, dry surface and identify any marks that belong in the finished display. A signature, edition number or narrow part of the artwork may sit near the lower edge. A mount opening that looks balanced around the main image could cover that information. Discuss the visible opening with the framer rather than supplying only the sheet dimensions and hoping everything will show.
A paper mockup can help you judge the proportions without touching the print with adhesive. Cut an opening in scrap paper to approximate the mount and hold it above the artwork. Compare a narrow visible border with a wider one from an ordinary viewing distance. Keep rough paper edges and scissors away from the actual print. The mockup is for making a visual decision, not for creating the final mount.
Keep the border useful during handling
Even with a margin, avoid unnecessary contact with the paper. Clean, dry hands and a clear work surface are a better starting point than a crowded table. Do not use the border as a place for sticky notes, household tape or a temporary written measurement. Those can leave marks or cause trouble when the framing plan changes. Keep measurements on a separate sheet or photograph instead.
If the border is uneven, check whether that is intentional before trying to correct it yourself. Handmade paper edges and the position of a printed image can vary. For a valuable or sentimental piece, seek a framer's advice about display and mounting. A border earns its place when it supports the artwork's appearance and gives you sensible framing options. It does not need to be hidden automatically, and it should not be removed simply because an existing frame is a little too small.
Further information