Use the shoulder seam to judge a T-shirt
A shoulder seam is a useful reference point, provided you first know the cut the designer intended.
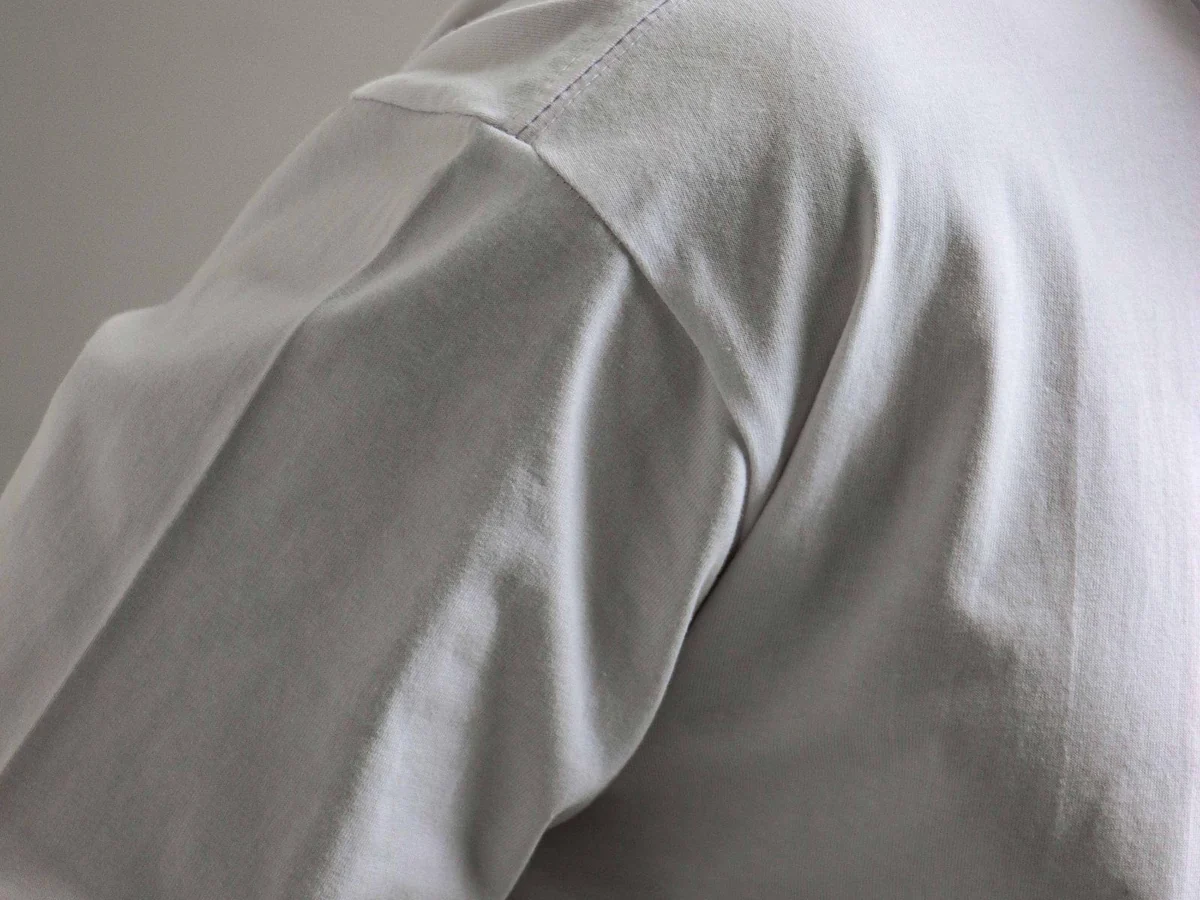
Find the seam, then identify the style
On a conventional set-in sleeve, the shoulder seam runs from the neckline towards the upper arm, where it meets the sleeve seam. Its position helps explain why a shirt feels neat, roomy or restrictive. It is not a universal line that must sit at exactly the same anatomical point on every T-shirt.
A deliberately dropped shoulder moves that junction down the arm. Raglan sleeves use a diagonal seam from the neckline instead. Before calling a shirt too large because its seam sits low, compare it with the maker's description and flat photographs. You may be seeing an intentional construction rather than an incorrect size.
Use it to investigate a fit problem
If a regular tee pulls across the upper chest, inspect the shoulder area along with the chest width and armhole. A seam sitting well inside the shoulder can be one clue that the upper part is narrow. However, posture, sleeve shape and fabric stretch also contribute. Moving up a size without checking those relationships may solve one problem and introduce a long hem or loose neck.
Raise your arms forward as if holding a steering wheel. Notice whether the neckline travels backwards or the sleeves bite into the upper arms. Then let your arms rest and see whether the shirt settles without rearranging it. A seam that looks perfectly placed in one still photograph can belong to a garment that feels awkward in use.
For a roomy style, check the lower seam against your normal outer layer. A dropped junction can create a fold around the upper arm when pushed into a close jacket sleeve. If that is uncomfortable, you might prefer a wider body with a more conventional sleeve rather than simply a smaller version of the same shirt.
Compare like measurements
When shopping online, find out how shoulder width is measured. A flat seam-to-seam figure is a garment measurement, not a body circumference. Lay a favourite shirt flat and follow the same measurement points. Do not stretch the fabric to reach the advertised number.
Look at both shoulders and the back neckline in product photographs. An off-centre hanger, a model's raised arm or a pose can make one side appear lower. A flat image is useful for construction, while a worn image shows how the fabric falls. Neither view supplies all the answers alone.
Once you have identified the cause of discomfort, describe it precisely. Saying that the sleeve junction feels crowded under a coat is more helpful than saying the shoulders are wrong. It directs your next choice towards a different sleeve or armhole shape, rather than an endless sequence of larger and smaller sizes.
Further information